What Makes a Recessed Light Diffuser the Most Important Piece of Your Ceiling Light?
Introduction
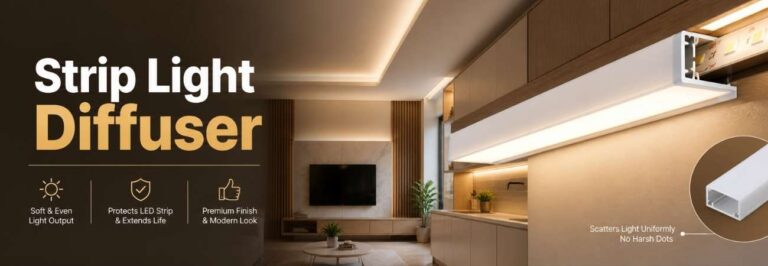
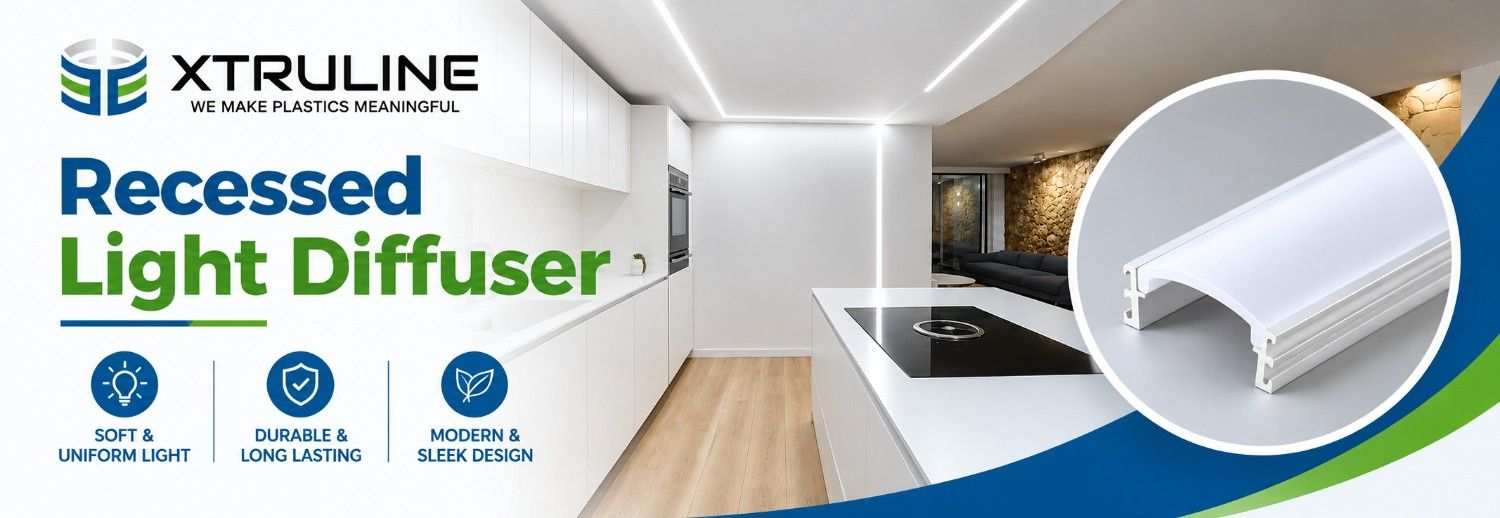
A recessed light diffuser is the translucent cover that sits over an LED strip inside a recessed channel, softening the output so you see a clean line of light instead of a row of bright dots. It controls glare, hides the diodes, and decides whether your ceiling looks custom-built or unfinished.
Most people planning a lighting job spend weeks choosing the strip. They compare wattage, colour temperature, CRI, warranty. Then they pick the diffuser in about four seconds, usually whichever one came in the box. That single shortcut is the reason so many installations end up with a dotted, uneven glow that never quite matches the render the designer showed.
The diffuser is not an accessory. It is the only part of the system anyone actually looks at.
What does a recessed light diffuser really do?
An LED strip is a line of individual emitters spaced a few millimetres apart. Left uncovered, your eye reads each one separately. You get hotspots, visible dots, and a hard glare that makes a room feel like a retail backroom.
A diffuser works by scattering that light before it reaches you. As the beam passes through the polycarbonate or acrylic cover, the material breaks the light into many directions instead of one. The individual diodes blur together into a single continuous band.
There is a second job people forget. The diffuser seals the channel. It keeps dust, insects, and moisture off the strip and the solder joints, which matters more than most homeowners expect in kitchens, bathrooms, and anywhere near a cooking surface. A sealed recessed lighting diffuser quietly adds years to the life of the strip underneath it.
Why does the same LED strip look different in two rooms?
Because the diffuser and the channel geometry changed, not the strip.
Three things decide the final look:
Diffuser opacity.
A clear cover passes nearly all the light but hides nothing. A milky cover hides everything but eats output. Between them sits a whole range of finishes.
Mounting depth.
The distance between the LED strip and the underside of the diffuser is the single biggest factor in dot visibility. Give the light 10 to 15 mm to travel and the dots disappear. Give it 5 mm and no diffuser on earth will save you.
LED density.
A 120 LED/m strip diffuses far more easily than a 60 LED/m strip in the same profile. Density and depth work together.
Get those three right and even a modest strip looks premium. Get them wrong and an expensive strip looks cheap.
Where does the recessed light channel fit into this?
The recessed light channel is the aluminium housing that gets set into plasterboard, gypsum, or joinery so the light finishes flush with the surface. It holds the strip, grips the diffuser, and does something people rarely credit it for: it pulls heat away.
LEDs lose brightness and shift colour as they run hot. Aluminium is a heat sink. A strip mounted directly onto a plasterboard ceiling has nowhere to send that heat. Mount the same strip inside an extruded aluminium recessed light channel and the junction temperature drops, which protects both lumen output and colour consistency over the years.
The channel also gives you a straight, repeatable line. Adhesive-backed strips stuck freehand along a cove will wander by several millimetres over a three-metre run. In a channel, they cannot.
Which recessed lighting diffuser should you choose?
Here is how the common finishes compare. Treat the transmission figures as working ranges, since exact values vary by material thickness and manufacturer.
| Diffuser Type | Light Transmission | Dot Visibility | Best Suited To |
|---|---|---|---|
| Clear / transparent | 90–95% | High — dots clearly visible | Maximum output where the strip is hidden from direct view |
| Semi-clear / frosted | 80–88% | Moderate | Cove lighting, indirect ceiling washes |
| Opal / milky | 60–75% | Very low — smooth line | Kitchens, retail, anywhere the fixture is seen head-on |
| Micro-prismatic | 78–85% | Low with adequate depth | Offices, workspaces needing low glare and good output |
| Black / smoked | 40–60% | Low | Ceilings where an unlit fixture should disappear |
The rule that serves most projects: if people will look directly at the light, choose opal. If the light is bouncing off a wall or ceiling and the source is hidden, choose clear or frosted and keep the extra output.
Material matters too. Polycarbonate resists impact and heat well and is the safer choice for commercial and high-traffic areas. Acrylic offers higher clarity and gloss but scratches more easily and yellows faster under UV.
How does a recessed LED profile change the finished result?
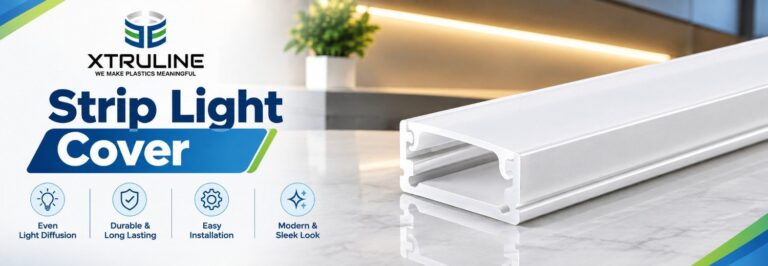
A recessed LED profile is the complete system: extruded aluminium body, mounting wings or trimless plaster-in edges, end caps, retaining clips, and the diffuser itself. Buying these parts as a matched set is the difference between a clean job and a frustrating one.
Trimless profiles are plastered directly into the ceiling so no visible frame remains, just a line of light in the plane of the surface. Wing-mount profiles sit slightly proud and are far more forgiving to install. Deep profiles buy you the mounting depth that kills dots.
The practical advantage of a proper recessed LED profile is that tolerances are already solved. The diffuser clips in without rattling. The end caps actually close the ends. The clips hold at the right spacing. Anyone who has tried to make a generic diffuser fit a mismatched channel knows exactly how much site time that saves.
What should you check before ordering?
- Inner width must match your LED strip width, with 1–2 mm of clearance for the wiring.
- Depth should give at least 10 mm from strip to diffuser if you want a genuinely dot-free line.
- Diffuser fit should be a firm snap, not a loose slide.
- Cut lengths matter on long runs — plan joints where a piece of furniture or a ceiling break will hide them.
- Finish should be anodised, not painted, if the channel will ever be visible.
Conclusion
If you are specifying recessed lighting for a home, an office fit-out, or a retail project, the diffuser and channel deserve the same attention you gave the strip. Xtruline manufactures recessed LED profiles, aluminium channels, and matched diffusers designed to work as one system, so you get an even, glare-free line instead of a compromise.
Talk to the Xtruline team about your project, request profile specifications, or ask for a recommendation based on your ceiling build-up and strip density. Send us your drawings and we will tell you exactly which profile and diffuser combination will give you the finish you are after.
FAQs
You can, but you should not. Without a diffuser the individual LEDs stay visible, glare increases sharply, and dust and moisture collect directly on the strip and its solder points. The channel still helps with heat and alignment, but the visual result will look unfinished.
Almost always because the strip sits too close to the diffuser. Opal material needs mounting depth to work. Aim for 10–15 mm between the LEDs and the underside of the cover, and consider a higher-density strip of 120 LEDs per metre or more.
Between roughly 5% and 40%, depending on the finish. Clear covers lose very little. Opal covers can absorb a third or more of the output. Plan for this at the design stage by specifying a slightly higher lumen-per-metre strip rather than trying to compensate afterwards.
Polycarbonate for durability, impact resistance, and flame retardance, which makes it the usual choice for commercial work. Acrylic for optical clarity and a glossier finish in low-traffic residential settings. Polycarbonate is the safer default in most projects.
Trimless plaster-in profiles need to go in before the ceiling is skimmed, so they have to be planned early. Wing-mounted recessed profiles can be retrofitted into a finished ceiling by cutting a slot, which makes them the practical option for renovations.