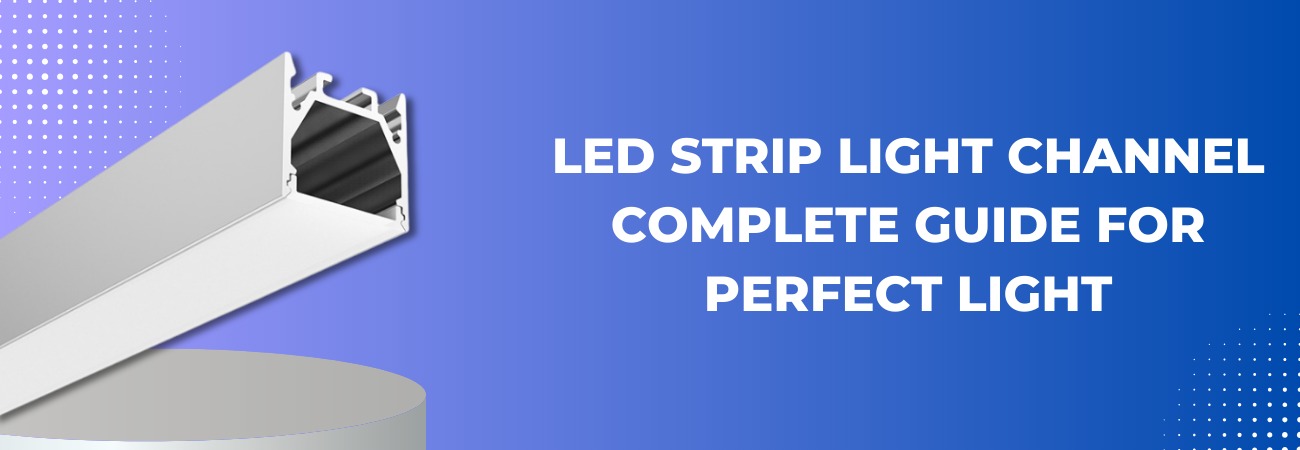
LED Strip Light Channel – Complete Guide for Perfect Light
Introduction
A strip of LEDs on its own rarely looks finished. Left exposed, it shows every individual diode as a hot little dot, collects dust along the adhesive strip, and has nowhere to shed the heat it generates all of which shortens its working life. An LED strip light channel solves all three problems at once: it houses the strip, spreads the light into one even line, and pulls heat away from the diodes so they last.
This guide walks through what a channel actually does, how to size and choose one correctly, the role IP ratings play if you’re working outdoors or in wet areas, and how standard diffusers differ from custom ones. By the end you’ll be able to specify the right channel for a project instead of guessing.
What Is an LED Strip Light Channel?
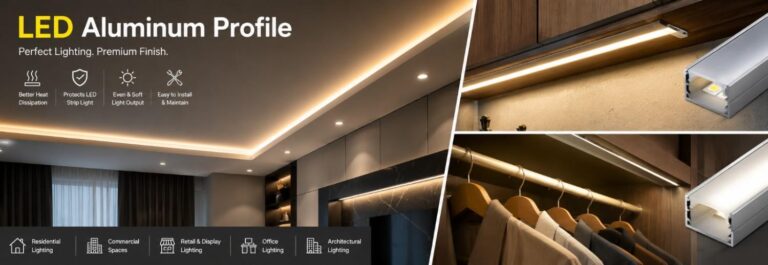
An LED strip light channel also called an LED profile or aluminum housing is a shaped enclosure, usually extruded aluminum, that the LED strip sits inside. A diffuser cover then snaps or slides over the top.
Functionally, it does two jobs at once: it acts as a heat sink, drawing heat away from the strip’s PCB, and it acts as a light diffuser mount, holding the cover that turns individual LED points into a continuous glow. The combination is what separates a professional-looking install from a strip of exposed LEDs stuck to a shelf edge.
What a channel gives you:
- A clean, finished line of light instead of a visible strip and wiring.
- Protection against sagging, peeling, dust, and knocks.
- Better heat dissipation, which directly extends LED lifespan.
- Compatibility with a diffuser for smooth, glare-free illumination.
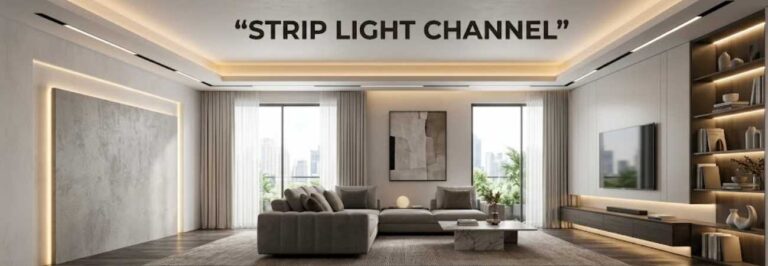
- A mounting system suited to cabinets, ceilings, stairs, and with the right IP rating outdoor spaces.
Why You Actually Need One
Run an LED strip without a channel and a few problems show up fast:
- Visible hot spots where each individual diode is bright enough to see as a point rather than a line.
- Dust buildup on the exposed adhesive and strip surface, dulling the light over time.
- Adhesive failure the factory backing tape isn’t built for long-term structural mounting, so strips sag or peel.
- Heat buildup, since the strip has nowhere to dissipate warmth, which shortens diode lifespan.
A channel with a diffuser fixes all of this in one step, turning a row of points into a single soft line of light.
Types of LED Strip Light Channels
Channels come in a handful of standard configurations, each suited to a different installation style:
- Surface-Mounted Channels Mounted directly onto a flat surface ceiling, wall, or underside of a cabinet. The most common choice for accent and task lighting because it requires no cutting into the surface.
- Recessed Channels Set into a groove or cut-out so the channel sits flush with the surface. Common in modern ceilings and flooring where a completely seamless look is the goal.
- Corner Channels Built for angled mounting typically along the inside or outside edge of a shelf, cabinet, or display unit so the light grazes two surfaces at once.
- Pendant / Suspended Channels Hung from the ceiling on cables or rods for a floating light line. Popular in offices, studios, and retail spaces where the fixture itself becomes part of the design.
- Outdoor Channels Built with weather-resistant housings and, critically, paired with a diffuser and end-cap seal rated for outdoor exposure (see the IP ratings section below) used for pathways, decks, and building facades.
Channel Sizing Guide by LED Strip Width
This is the step most guides skip, and it’s the one that causes the most installation headaches. If the channel is too narrow, the strip won’t sit flat and the diffuser won’t seat properly; too wide, and the strip shifts inside the channel and diffuses unevenly.
| LED Strip Width | Recommended Channel Type | Notes |
|---|---|---|
| 8mm | Mini/slim channel | Best for cabinet edges, toe-kicks, and tight furniture gaps. |
| 10mm | Standard slim channel | The most common strip width; fits most surface-mounted and recessed profiles. |
| 12mm | Standard channel | Works with single-row strips and some dual-chip strips. |
| 15mm | Mid-width channel | Needed for higher-density or dual-row strips. |
| 20mm+ | Wide/high-output channel | Required for COB strips, high-CRI strips, or two strips run side by side. |
Understanding IP Ratings for LED Channels
If a channel will be exposed to moisture, humidity, or the outdoors, its IP (Ingress Protection) rating matters as much as its size.
- IP20: Indoor use only, no moisture protection. Fine for living rooms, offices, and display cabinets.
- IP44: Splash-resistant. Suitable for bathrooms, kitchens, and covered outdoor areas away from direct spray.
- IP65: Dust-tight and protected against low-pressure water jets. The standard choice for outdoor facades, garden lighting, and semi-exposed installs.
- IP67 / IP68: Fully dust-tight and protected against temporary or continuous submersion. Needed for pool surrounds, ground-recessed outdoor lighting, or anywhere standing water is possible.
How the Diffuser Works
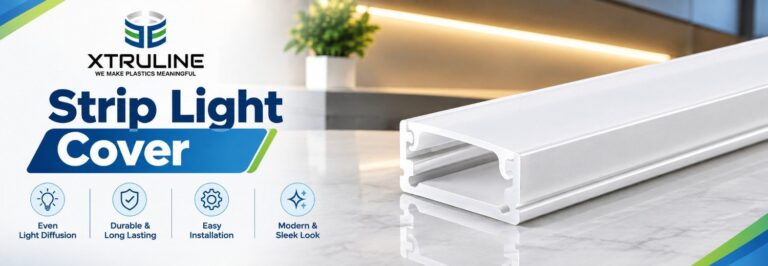
The diffuser is the cover usually frosted plastic or polycarbonate that sits over the open face of the channel. Its job is to spread the light evenly, eliminate hotspots, and hide the strip itself so all you see is a clean line of glow.
- Clear: Highest light transmission, but individual LED points can still be visible.
- Frosted: Softens the light and removes visible dots; the most common general-purpose choice.
- Opal: Maximum diffusion for the most uniform, seamless glow, at a slight cost to brightness.
Custom LED Diffusers vs Standard Diffusers
Standard diffusers (clear, frosted, opal) are mass-produced to fit common channel widths and cover the large majority of residential and commercial jobs. Custom diffusers are made to order, and the difference goes beyond just having more options:
| Factor | Standard Diffuser | Custom Diffuser |
|---|---|---|
| Shape & profile | Fixed set of standard cross-sections | Matched to a specific channel geometry or brand spec |
| Light output control | General-purpose diffusion | Tuned diffusion angle/opacity for a specific application (e.g. anti-glare at eye level) |
| Color & finish | Limited stock finishes | Custom tinting, branding colors, or specialty finishes |
| Lead time & MOQ | Off-the-shelf, immediate | Requires tooling or minimum order quantities, longer lead time |
| Best suited to | Home projects, standard retail fit-outs | Architectural projects, product design, large commercial rollouts with specific brand or lighting requirements |
Best Applications for LED Light Channels
- Home Interiors: Kitchens, living rooms, bedrooms, staircases.
- Commercial Spaces: Retail displays, showrooms, offices.
- Architecture: Wall coves, false ceilings, outdoor facades.
- Furniture Design: Cabinets, wardrobes, shelves.
- Events & Exhibitions: Stage lighting, decorative panels.
Step-by-Step: Installing an LED Strip Light Channel
- Measure & cut Measure the required run length and cut the channel to size (see the sizing guide above before you buy).
- Prep the surface Clean the mounting area so adhesive-backed channels bond properly.
- Mount the channel Fix it using mounting clips, screws, or adhesive backing, depending on the channel type.
- Fit the LED strip Press it into the channel and confirm it sits flat along the full length.
- Attach the diffuser Snap or slide the diffuser cover into place.
- Wire and test Connect to the power supply and check the full run lights evenly before final fixing.
Conclusion
An LED strip light channel is the difference between a lighting installation that looks amateur and one that looks professionally finished. Beyond aesthetics, the right channel protects the LED strip from dust and physical damage, draws heat away to extend its lifespan, and paired with the correct diffuser turns individual LED points into one smooth, even line of light. Getting the best result comes down to three decisions: a channel sized correctly for your strip width, a mounting style (surface, recessed, corner, or outdoor) suited to your space, and a diffuser standard or custom that matches the finish you want. Get those three right and the channel will outlast the design trend that inspired the project.
FAQs
An LED channel safeguards the strip light, helps in dispersing heat effectively, and delivers soft, evenly distributed illumination.
Yes, LED channels are made of aluminum and can be cut with a hacksaw or similar tool.
Yes, a diffuser prevents hotspots, spreads light evenly, and enhances aesthetics.
A frosted or opal diffuser is ideal for creating soft, ambient light.
Yes, but you need waterproof LED channels with a high IP rating for outdoor use.
Both terms mean the same thing—they are aluminum housings designed for LED strips.
Check your LED strip width, installation type (surface, recessed, corner), and preferred diffuser type.
A standard slim aluminum channel it’s the most widely available size and fits most surface-mounted and recessed profiles. Always add 1–2mm tolerance and confirm the strip’s full PCB width before buying.
A custom diffuser is built to match a specific channel shape, light output requirement, or brand finish useful for architectural or large commercial projects. A standard diffuser is cheaper, ready-made, and sufficient for most single-room installs. Go custom only when a stock option can’t meet a specific design or performance requirement.